
This post contains affiliate links. See my disclaimer.
Ever see Halloween decor in a store and think...yeah, I could totally make that for less!
I had that moment back in 2014 - yes, I've been dreaming of making this DIY for THAT long - when Pottery Barn introduced this bat chandelier in their Halloween collection:

I'm a Pottery Barn admirer, but I'll admit...most of their Halloween decor is out of my price range, including this gem at $59. But it stuck in my head as a project I wanted to make someday.
That someday finally came this year!

I got away with making mine for roughly half the cost and put my own spin on the final design. Here's how I made it.
How I Made a Pottery Barn-Inspired Bat Chandelier

Supplies:
18-inch metal hoop (what I used)
12-inch metal hoop (what I used)
12 x 12-inch black paper (what I used)
Black cotton cord (similar)
Black paint (what I used but you could also use spray paint)
Black tulle (what I used)
Paintbrush (if using acrylic paint)
Hole punch
Pencil
Scissors

Instructions:
I started by painting both metal hoops black. I used black acrylic paint because it's what I had on hand and, living in an urban apartment without outdoor space, I don't have an easy space for spray painting projects. It took 3 - 4 coats over a couple of days to get the color even.
Next, I traced my bats using paper bats from a Martha Stewart craft kit I've had for years. If you have similar decor, use it as your template! You can also find lots of templates on Google. The kit had bats in two different sizes: 14-inch and 12-inch wingspans. I scanned one and resized it in Photoshop to add 8- and 6-inch wingspan bats.

It might take a little creative placement, but you can get multiple bats out of a single piece of black paper. Trace them using your pencil, then cut them out. To create the cascade effect of a chandelier, you'll want several of each size. I recommend at least four of each. You can add more as you want. Once your bats are cut out, punch a single hole in the center of their heads.
You may want to give your bats more dimension by folding their wings to give the illusion that they're flying. For mine, folding the wings at the point at the top of the wing and near the body worked best.

Now, let's put together the chandelier! Start by attaching your smaller metal hoop to the larger one. Measure four 12-inch pieces of black cotton cord. (You can measure this longer if you want your chandelier to hang lower.) Tie one end of each cord onto the smaller metal hoop, then tie the other end to the larger metal hoop.
You'll want these spaced evenly around each hoop so when you hold up the large hoop, the small one hangs straight down. I found that tying my cords onto each hoop in the same spot, then spreading them out evenly worked best.
Once your hoops are attached, measure 24 inches of black cotton cord. After cutting, find the center of the 24-inch piece of cord and tie a small loop to use to hang your chandelier. Attach to the larger metal hoop on opposite sides so the larger hoop hangs evenly.

Time to add the bats! Measure a piece of black cotton cord to your desired length. Tie one end to the bat using the hole punched in its head. Tie the other end to one of the metal hoops. If you measured too much string, just trim the end attached to the hoop once the bat is tied on.
I started with the larger bats and hung them at varying lengths from both hoops. Then I added the next size down 2-3 at a time until the chandelier was full. There is no perfect way to do this. Go symmetrical or asymmetrical. Use your eye and add bats until you're happy with the look!

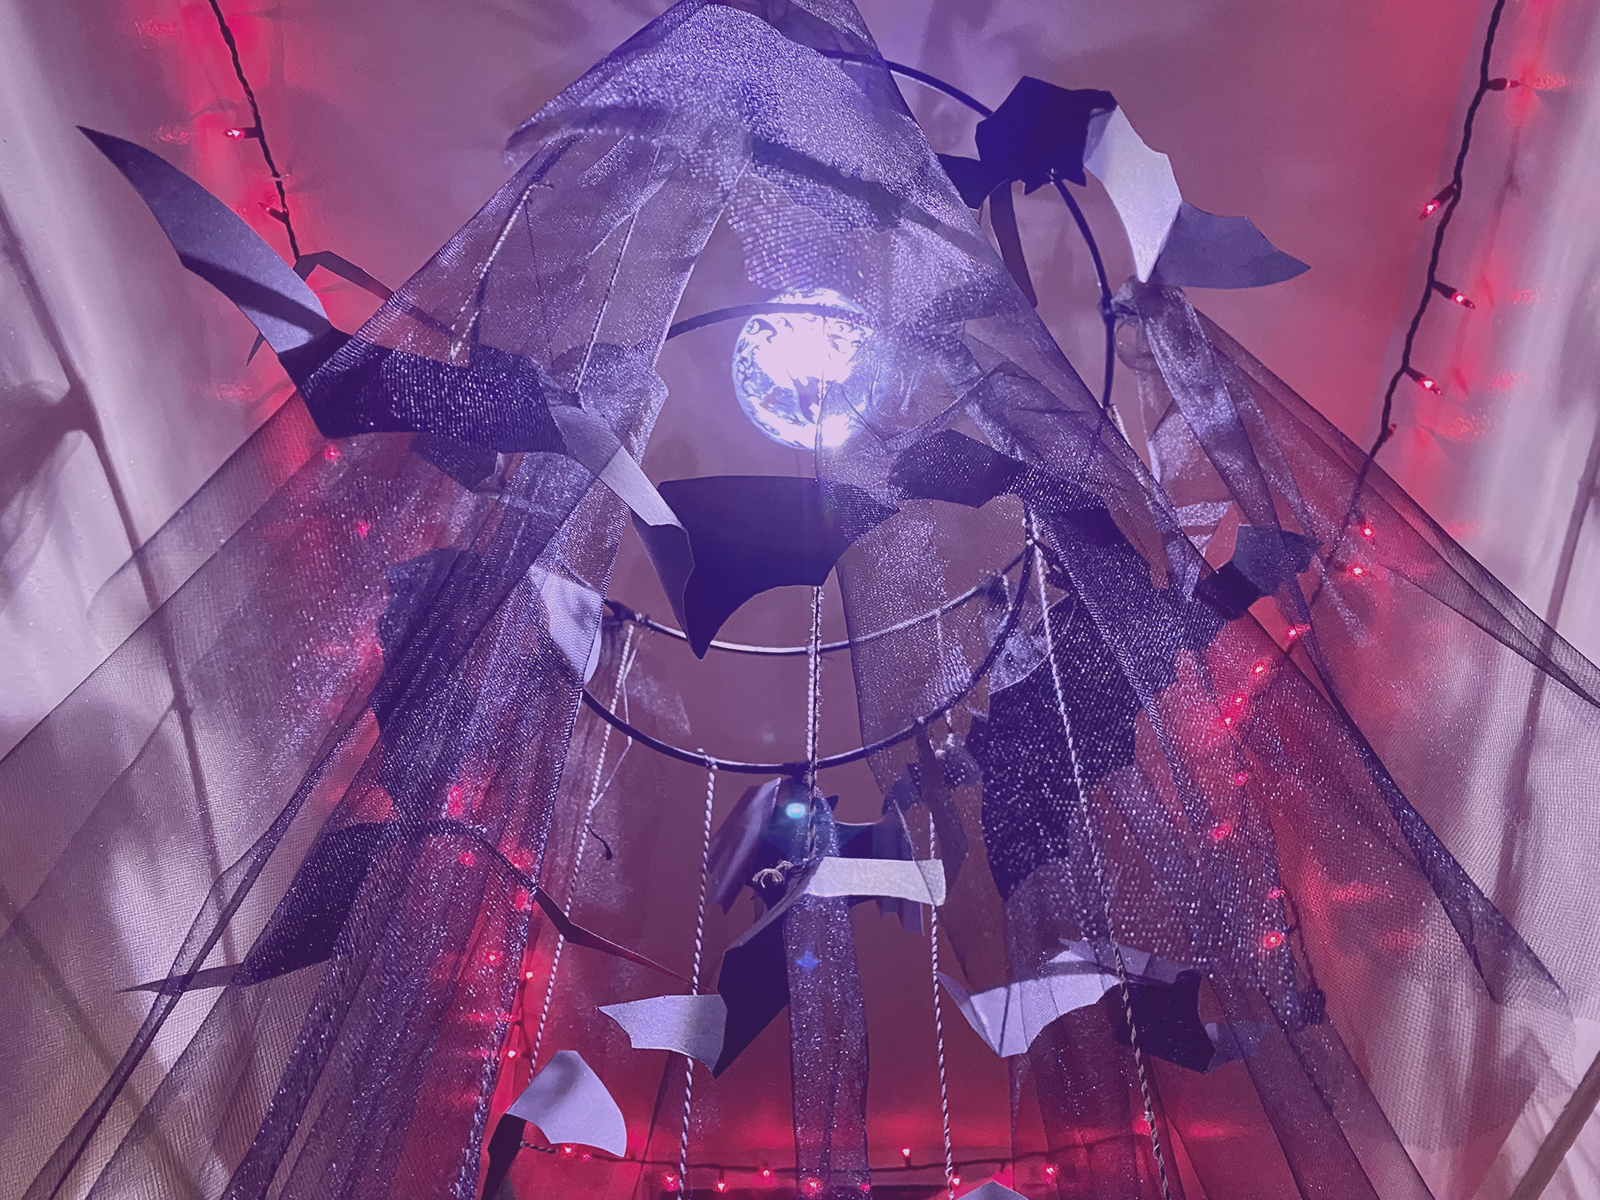
Finally, fill in any gaps with a bit of tulle. This is where I deviate from the original Pottery Barn chandelier. I measured mine at 24-36 inches, then folded it in half and looped it around the metal hoop. I used four pieces on each hoop to finish my look.
Then...find a place to hang it up! This would look great over a kitchen table or island, but it would also be great over a mantel, in the corner of a room or even on a porch.
Mine was originally going to go over my TV (and still might!), but for now it is giving my hallway some haunted Halloween vibes. (And as you can see through the photos...it went through a few evolutions of lighting.)

What Halloween DIYs are you working on this season?
Let me know in the comments! It's been a while since I've done these, and I'm looking forward to more soon. In early November keep an eye out for a few ideas of what you can do with all those Halloween cards you collected this season!
Looking for more DIYs? Here are a few you might like:
Smoking cauldron chandelier (I love a good spooky chandelier!)