

This content was originally published on Patreon in March 2024.
This DIY idea has been YEARS in the making. I gave making a Halloween windsock a whirl back in the spring of 2021, but I didn't love how it was turning out so I scrapped the whole project and decided to come back to it later.
Later ended up being three years. 😂 Whoops!
This time, this DIY project came together beautifully. Not only do I love the finished product—I also love that this project uses Halloween fabric scraps I've had for years AND is 100% no-sew. Resourceful and simple!
If you have some Halloween fabric scraps (or even purchases with no plans for it!) in your craft stash, I hope this gives you a little inspo.
Here are the two ways I made my Halloween windsocks!
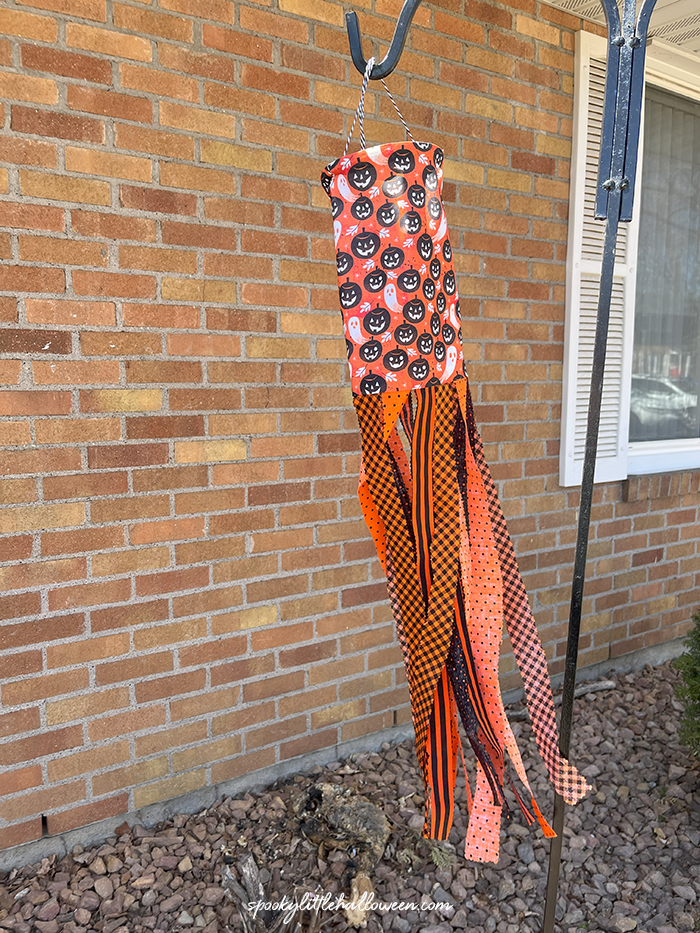
Traditional Windsock
Supplies:
Baker's twine
Floral wreath ring (what I used)
Halloween fabric
Fabric scissors
Pinking shears
Iron
Fusible bonding web (optional, what I used)
Hot glue/fabric glue
Ruler

Instructions:
Start by measuring a piece of twine 12-24 inches in length to use as your windsock hanger. (Truth be told, I eyeballed EVERYTHING for this project so my measurements are approximate - adjust them however you see fit.) Tie the ends of your baker's twine onto the floral wreath ring straight across from each other.
Not necessary but helpful: once tied, you might consider using a dot of hot glue to hold the twine in place.
For this project, I recommend using floral wreath rings because they're sturdy yet lightweight. They also give you a bit of an edge to glue your fabric to, unlike a metal ring. Find these in the floral section of your favorite craft store in the aisle with floral foam, wire, etc.

Next, we'll measure and cut the piece of fabric that will make up the cylinder top of our windsock. You'll want to determine the circumference of the floral wreath ring, then add at least two extra inches to come up with the width. Adding the extra two inches will help us create seams so the edges of the fabric doesn't fray while also ensuring the fabric fully wraps around the ring.
Then measure the length at approximately 12 inches (this accounts for seam edges already).
My approximate measurements were:
6 inch floral wreath ring
14 inches wide by 12 inches long fabric
Once measured, cut your fabric with fabric scissors.
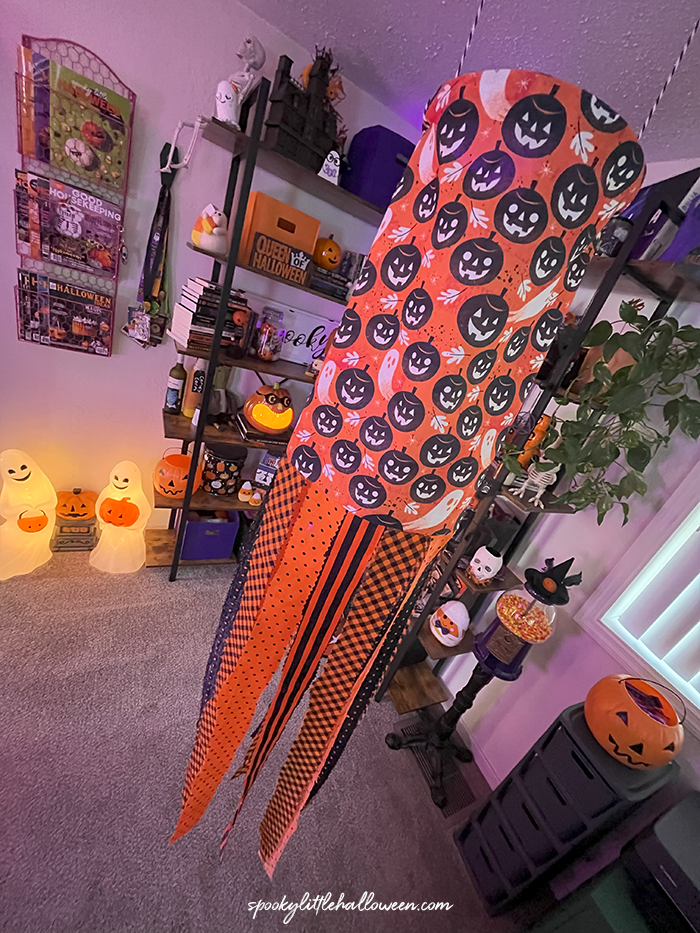
To create the windsock arms (or tassels), cut strips of fabric at 1 inch wide by 24 inches long. I highly recommend using pinking shears for this! These are the scissors that cut a zig-zag pattern on the edge of fabric, which prevents fraying.
For a 6 inch floral wreath ring, you'll need at least 12 fabric strips
For an 8 inch ring, you'll need at least 16 fabric strips
For a 12 inch ring, you'll need at least 24 fabric strips
Now let's put it all together!
Heat up your iron. Take the piece of fabric we cut for the top cylinder of the windsock and along all the edges, fold over approximately 1/2 inch of fabric, then iron to create a crease. Do this on all sides. We're looking to create a clean edge.
How you seal these seams is up to you. Using a bit of fabric glue or hot glue works if that's what you have! Because I had it on hand from a Halloween costume, I used a bit of fusible bonding web. (Ironically, the brand you'll find in most US craft stores is called Stitch Witchery.) It comes on a roll, so I measured a piece to match length of the fabric, cut it, slid it into the fabric seam I'd created, and then ironed it down to fuse everything together. So simple!
From here, I glued the top of my windsock fabric to the floral wreath ring. I found hot glue worked best for this. I laid down about 2 inches of hot glue at a time, then attached the fabric to the ring. Your fabric should overlap by 1/2-1 inches.
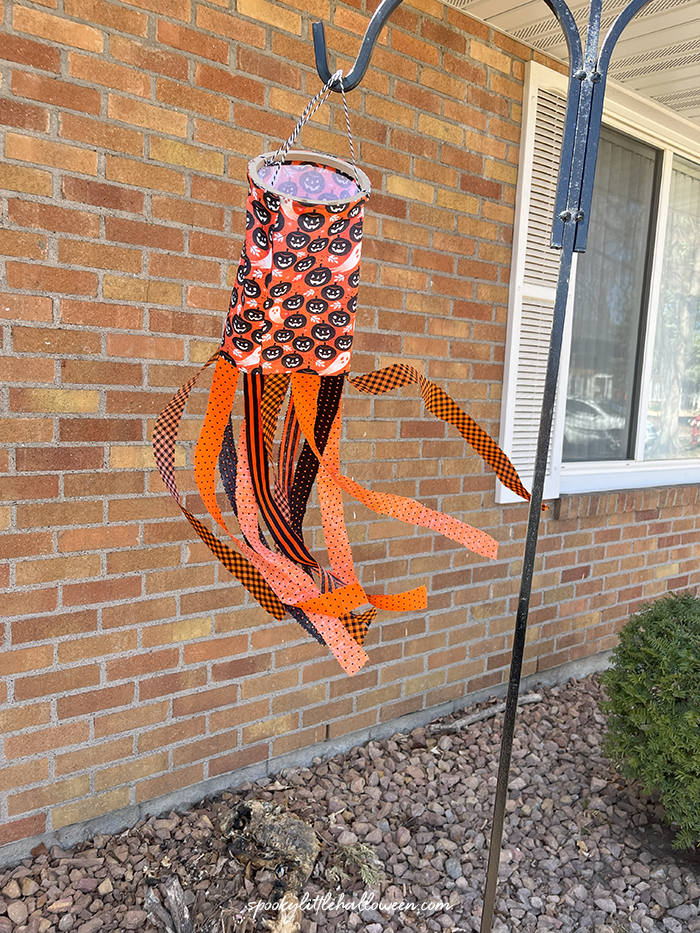
Once attached to the floral wreath ring, line up the bottom pieces so everything lies flat and you create a seam up the back of the windsock. Glue this closed as well to create the top cylinder of the windsock.
Now you're ready to add on your arms/tassels! Because they'll blow in the breeze, I recommend gluing them right next to each other around the bottom of your cylinder. I used hot glue and attached them to the bottom seam with about 1/2 inch glued inside.
And that's it! Allow your hot glue a bit of time to dry before placing outside. I will add...this method isn't meant to be weatherproof, so you may want to hang your windsock close to your home or even keep it indoors. I would recommend bringing this inside when not in use so it isn't destroyed by rain.
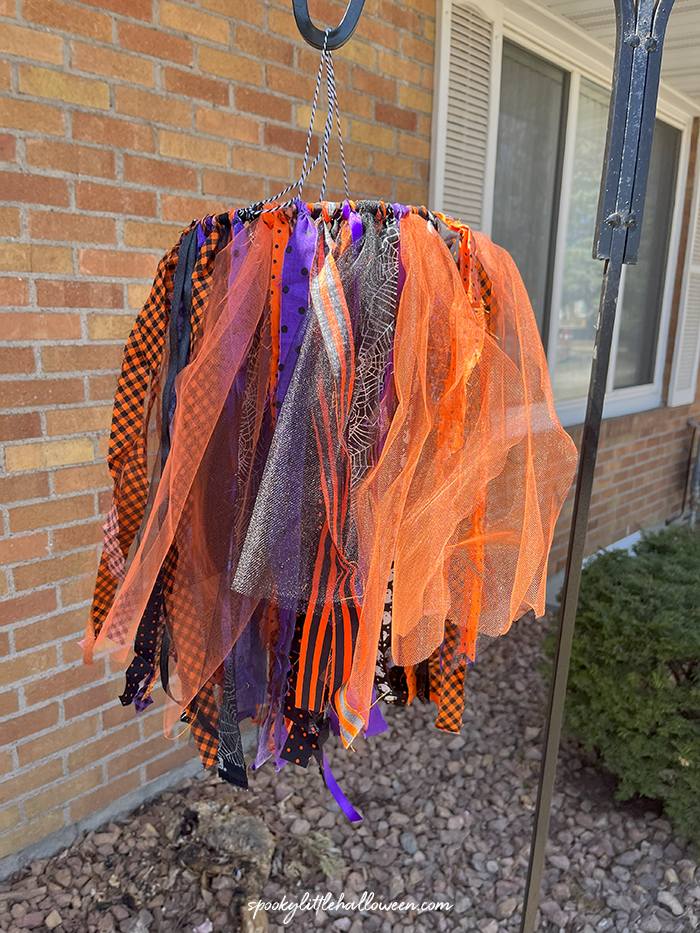
Fabric Strip Windsock
And because I still had a TON of fabric left...I decided to make a second version that's MUCH easier to put together!
Supplies:
Baker's twine
Metal floral ring
Halloween fabric
Fabric scissors
Glue
Tulle, ribbon to use as decorative filler (optional)

Instructions:
Start by measuring a piece of twine 12-24 inches in length to use as your windsock hanger. Tie the ends of your baker's twine onto the metal floral ring straight across from each other. (I opted for metal for this one because it's what I had/was easier to move fabric around on.)
Not necessary but helpful: once tied, you might consider using a dot of hot glue to hold the twine in place.
Using fabric scissors, cut strips of your fabric approximately 1 inch wide by 24 inches long. You can change that length to anything you want! Vary the length of your pieces for a little dimension, or keep them all about the same length, like I did. Regardless, you'll want these strips to be double the length you intend for the finished product to be because we're going to fold them in half to attach them.
Note: I used plain old fabric scissors for this one because I decided I didn't mind if the fabric frayed a bit. However, if you want to keep things nice and neat, use pinking shears to prevent fraying.
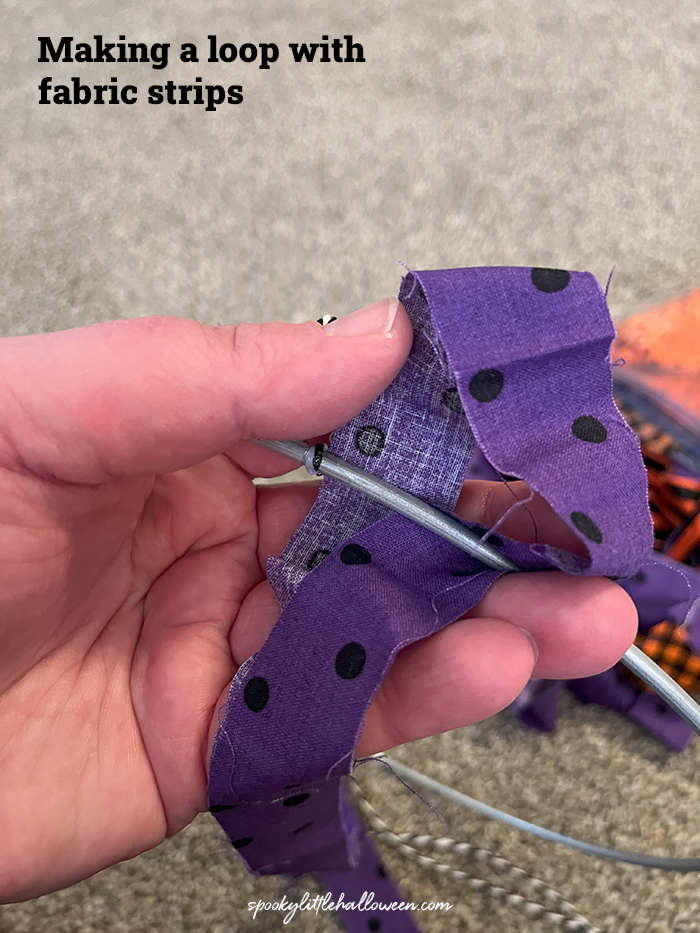
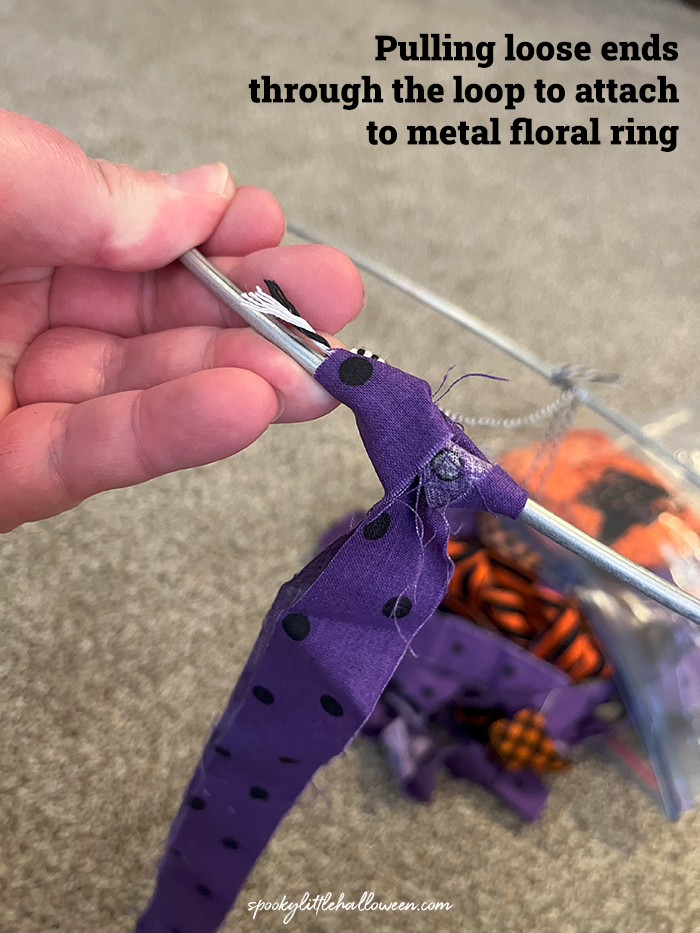
And that's our next step: fold the fabric strips in half. Where the strip folds in half, create a loop and place that on the inside of the metal floral ring. Then thread the loose ends of the fabric strip through the loop and pull until the fabric is secure and attached to the metal floral ring.
Continue until the metal ring is full/to your liking. If you have extras like tulle or ribbon, add those in. Bakers twine with little Halloween charms could be cute too.

Hang outside and enjoy! While this one is a bit more weather resistant, I'd still recommend bringing it indoors when not in use/when raining.

Which windsock is your favorite?
Let me know in the comments. If you make one of these, I hope you'll share a photo with me. I'm hoping to pop mine outside once the weather warms up a bit more and it's less rainy.