Sew Spooky

A DIY project from YouTuber Britni Jade

Here are the step-by-step instructions, including photos of every step, from the “Sew Spooky” feature in the fall 2025 issue of Spooky Little Halloween—The Magazine.


Colorful Halloween-themed quilt with numbered pockets from 1 to 24, decorated with pumpkins, candy, and spooky designs.
A collection of Halloween-themed activity prompts on decorated cards, including suggestions like attending a Halloween fair, baking a pumpkin-inspired treat, trick-or-treating, and watching spooky movies, arranged on a wooden surface.
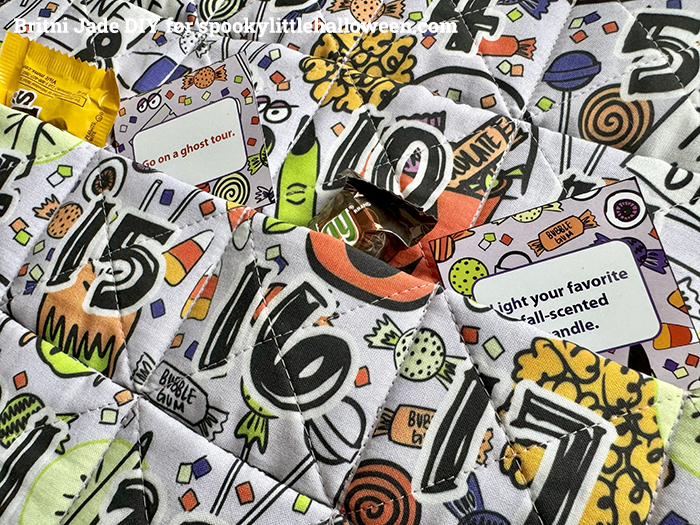
Assorted Halloween-themed candies in wrappers with spooky-themed packaging, featuring 'Go on a ghost tour' and 'Light your favorite fall-scented candle' labels.

SUPPLIES:

  • 1 yard of Halloween advent calendar panel, available in five colors at spoonflower.com/profiles/britnijadedesign

  • 1 5/8 yards of fabric in addition to this panel for the back and binding
    Note: This measurement is for binding cut on straight of grain. You may need to purchase additional yardage if you wish to have your binding cut on bias.

  • 1 5/8 yards of single-sided fusible fleece or batting (or a 56"x23“ piece)
    Note: These dimensions include excess for migration during topstitching.

  • 5 yards 1/2" double-fold bias tape OR 6-8" extra fabric for DIY binding

  • Dowel rod or ribbon for hanging

  • Halloween advent calendar cards

  • Cardstock (80 lb. recommended)

Optional:

  • Treats or trinkets to tuck into each pocket

  • Small tags or numbers for labeling the countdown days

  • Decorative buttons, felt shapes, or iron-on patches for embellishment

TOOLS:

  • Sewing machine

  • Printer

  • Fabric scissors or rotary cutter

  • Cutting mat

  • Quilting ruler or straight edge

  • Pins or fabric clips

  • Iron and ironing board

  • Thread to match or contrast

  • Dowel rod or ribbon for hanging

  • Fabric-safe marking pen or chalk

  • Seam gauge or measuring tape


INSTRUCTIONS:

Images pair with the step listed immediately below.
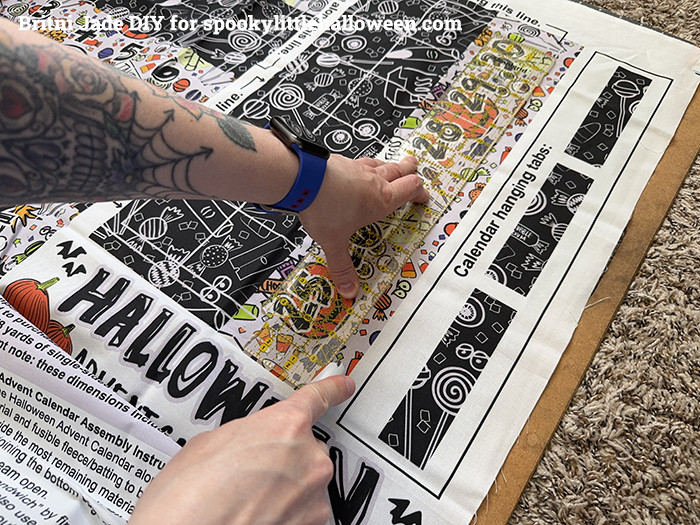
Person working on Halloween-themed craft project, cutting out colorful stickers or decorations from a sheet, with a spiderweb tattoo visible on their arm, on a work surface covered with black and white Halloween-themed paper and instructions.
A Halloween-themed advent calendar in progress, with numbered black and white patterned pockets, some already filled with small items, and a roll of white fabric on a carpeted surface.
A person is measuring fabric using a clear ruler on a craft cutting mat. The person has a smartwatch on their left wrist and is using their right hand to hold the ruler in place. The workspace includes patterned fabric, and the cutting mat has a grid and measurement markings.

Step 1:

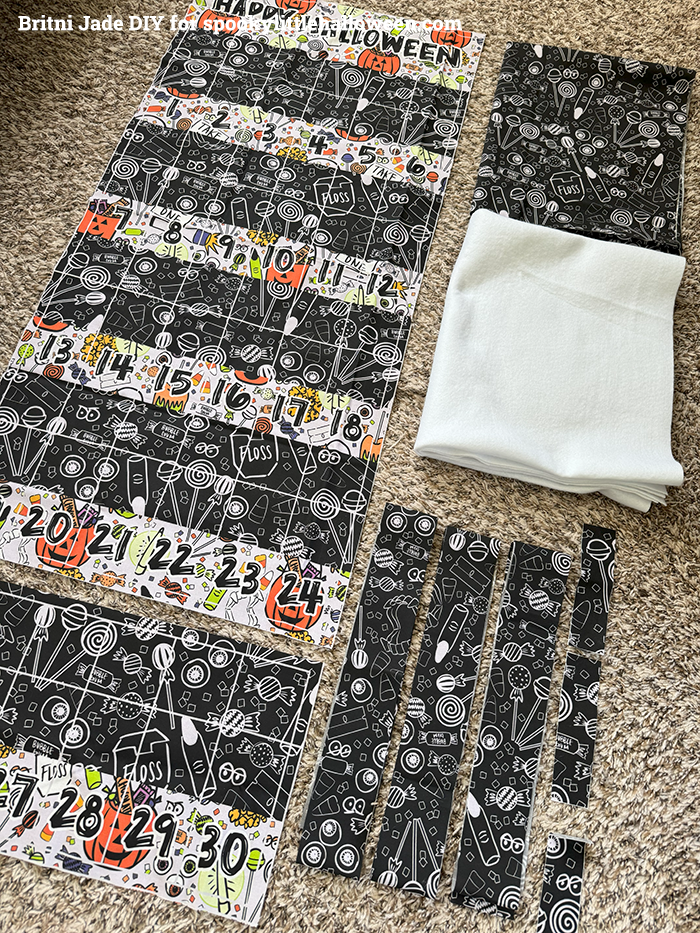
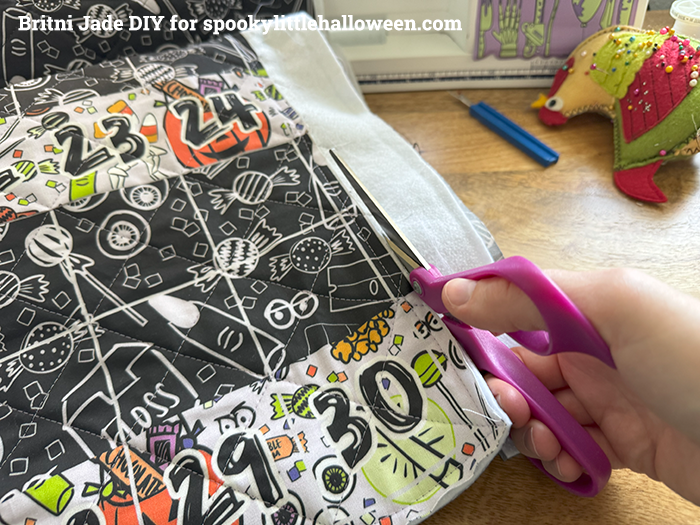
Cut out the Halloween advent calendar along the indicated line. Also cut calendar backing material and fusible fleece/batting to be 56"x23". Be sure to cut backing near one selvage to provide the most remaining material width for binding. If you’re not opting for pre-made bias tape, cut three strips the length of the fabric (56") by 2 1/2" for the binding. Lastly, cut out your hanging tabs.
Person peeling back a sheet of decorative wrapping paper with a colorful geometric and abstract pattern, revealing the same patterned paper underneath on a wooden surface.
Person sewing gray Halloween costume fabric with a sewing machine, some fabric with Halloween-themed prints visible.
A person is using an iron to press a piece of Halloween-themed tissue paper or transfer paper on a surface, with various Halloween symbols visible in the background. The tissue paper appears to have Halloween symbols printed on it.
A person is using an iron to transfer vinyl onto fabric decorated for Halloween, with wrapping paper in the background.
A person using a Teflon iron to press decorative Halloween-themed adhesive vinyl onto a box, with a partially peeled corner revealing the design.

Step 2:

Sew a 1/2" seam joining the bottom edge of main calendar to the top edge of days 25 through 30, then press seam open.

Hands peeling off a sheet of Halloween-themed sticker paper featuring candy, skulls, and various decorative elements.
Person holding black and white Halloween-themed wrapping paper with candy and pumpkin patterns, next to colorful Halloween bags with pumpkin and creepy print design.

Step 3:

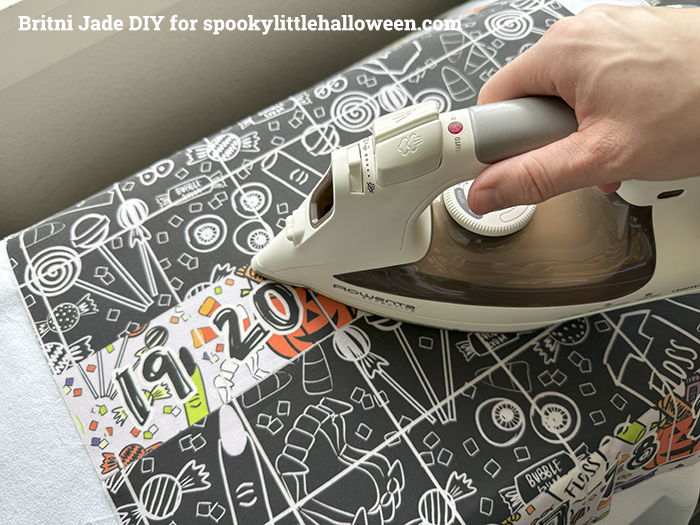
Create your 'calendar sandwich' by first ironing single-sided fusible fleece to the wrong side of the calendar. You can also use quilt batting, then lay calendar backing fabric on top of fusible fleece/batting right side out. Pin or tack your layers together to stabilize for topstitching in the next step.
Close-up of sewing machine sewing a zigzag stitch on Halloween-themed fabric with candy and pumpkin prints. The needle and presser foot are visible.
Halloween-themed DIY advent calendar with numbered pockets, decorated with pumpkins, bats, and spooky designs, laid out on a fabric background.
A person is cutting a piece of black and white Halloween-themed fabric with pink scissors. The fabric features illustrations of candies, lollipops, and countdown numbers. There are craft supplies and a colorful plush toy on the wooden table in the background.
Person cutting a piece of black patterned paper with pink scissors over white tissue paper, possibly for Halloween decoration. The background has a Halloween-themed tablecloth with pumpkins and ghosts.

Step 4:

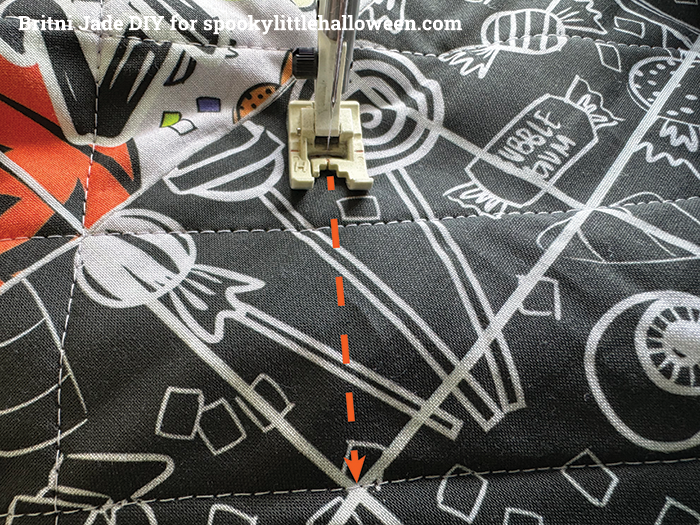
Machine stitch all your calendar layers together. I opted for a a diagonal pattern using the calendar’s squares for reference.

A pair of purple scissors, a black and white patterned paper, a white piece of paper, and a piece of tissue paper on a Halloween-themed fabric background with small skull and spider illustrations.
Person folding a piece of black paper with white designs, on Halloween-themed fabric with spiders and yellow pumpkins.
Three black fabric Halloween-themed pins with white skull and handprint designs, each secured with colorful straight pins on a Halloween fabric background featuring ghosts, spiders, and tombstones.

Step 5:

Once topstitching is complete, create your calendar hangers:

a) First, iron a single-sided fusible interfacing to the wrong side of the tabs to reinforce the material.

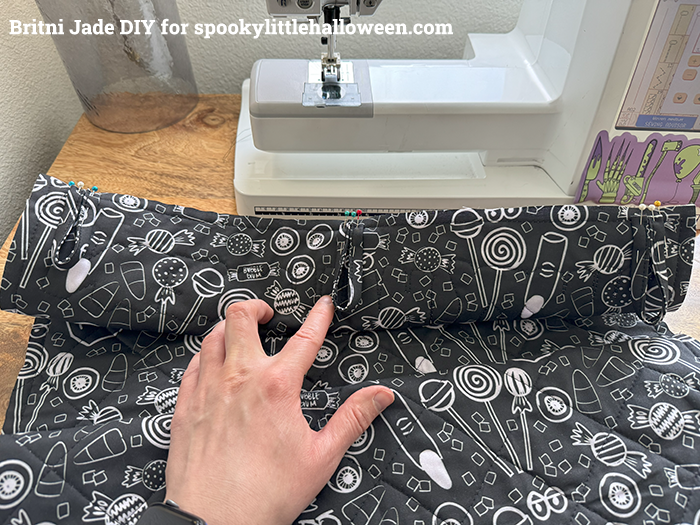
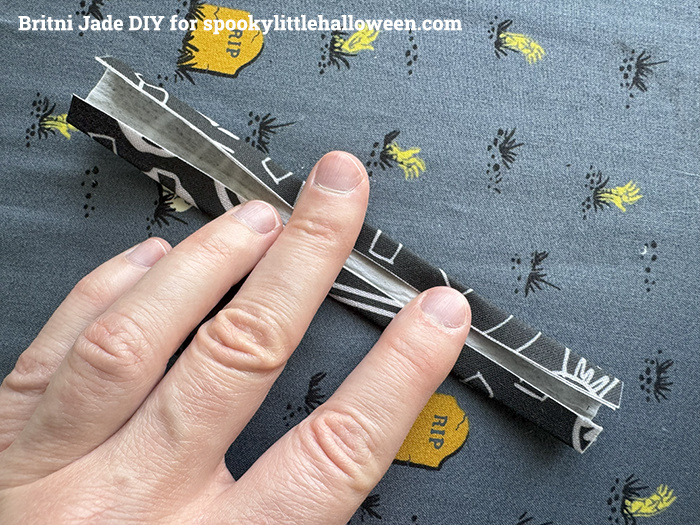
b) Once your interfacing is applied, fold the hangers in half lengthwise, then fold the long edges toward the center fold (about a 1/4" on each side). Fold your hangers in half lengthwise once again, concealing the folds made in the previous step, and pin in place.

Hand sewing a black fabric with a white candy and lollipop pattern, using a black zipper for a Halloween costume project.
A sewing machine stitching a black fabric with white Halloween-themed patterns, including pumpkins and candies.
Close-up of a person's hand sewing a piece of fabric with black, white, and green patterns, using a needle and thread, on a wooden surface.
Close-up of a person sewing fabric with a sewing machine, showing a black fabric with white candy and lollipop patterns, and the person's hand guiding the fabric.

Step 5 Continued:

Once topstitching is complete, create your calendar hangers:

c) Edge stitch along the folded edge of each hanger.

d) Attach each hanger evenly spaced along the top edge of the calendar on the back side. I positioned mine one in the center, 3/4" in from the sides, and about a 1/4" in from the edge.

Tip: Attach your hangers so that the raw edges of the ends will be concealed inside the binding later.

A sewing machine stitching a piece of Halloween-themed fabric, with a black and white candy print, onto a black ribbon with white spooky designs. The fabric is being sewn in a straight line, with a label indicating Step A.
Person using pink scissors to cut a piece of black fabric with white Halloween-themed patterns. Sewing machine, fabric scraps, and sewing tools on a wooden table.
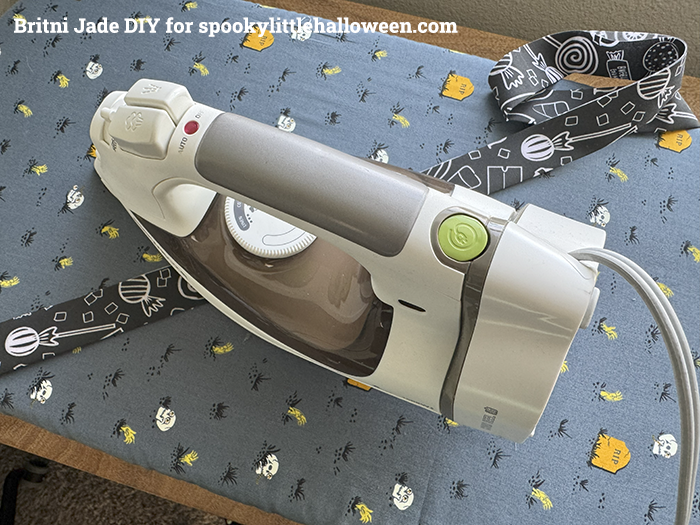
An iron resting on a fabric with Halloween-themed print, and a black and white patterned ribbon nearby.

Step 6:

Now you’re ready to bind your calendar! If you are creating your own binding, follow steps A through B; otherwise, proceed to step C if you’re using pre-made binding.

Tip: For best results, machine stitch the binding to the front side of the project, then slip stitch the binding to the back side.

a) Take your three binding strips and join them with a diagonal seam at the short ends (reduces bulk) by placing them on top of each other, right sides together, forming a right angle and stitch corner to corner (see image at spookylittlehalloween.com/sewspooky).

b) Once you cut away the excess material of each binding seam, press these seams open, and press the whole binding strip in half lengthwise.

A close-up of a Halloween-themed fabric with candy and pumpkin designs, showing step C of a sewing or crafting process, including a seam and a dashed line marked with orange circles.
Close-up of a Halloween-themed fabric with black, white, orange, purple, and green colors, featuring various illustrations and patterns, marked as step E.

Step 6 Continued:

Now you’re ready to bind your calendar!

c) To begin attaching your binding to your calendar, place your binding end at the center bottom of the calendar, being sure to open up the folded binding and fold the end to form a 45-degree angle. Stitch the binding end for approximately three inches 3/8" from the edge.

d) Lift the presser foot and trim the threads. Fold the binding back in half. Leave the length of the previously made stitch line and about an inch more unsewn, and continue sewing the binding up to the corner of the calendar.

e) Once you near the corner, discontinue sewing straight 3/8" from the calendar’s side and sew towards the corner at a forty-five degree angle.
Close-up of a hand resting on black Halloween-themed fabric with candy and spooky doodle patterns, on a wooden surface.
Close-up of a sewing machine stitching colorful Halloween-themed fabric with skeleton, pumpkin, and candy designs, black and white background, on a wooden table.
A person holding a corner of a Halloween-themed fabric with black, white, orange, and green patterns on a wooden surface.

Step 6 Continued:

Now you’re ready to bind your calendar!

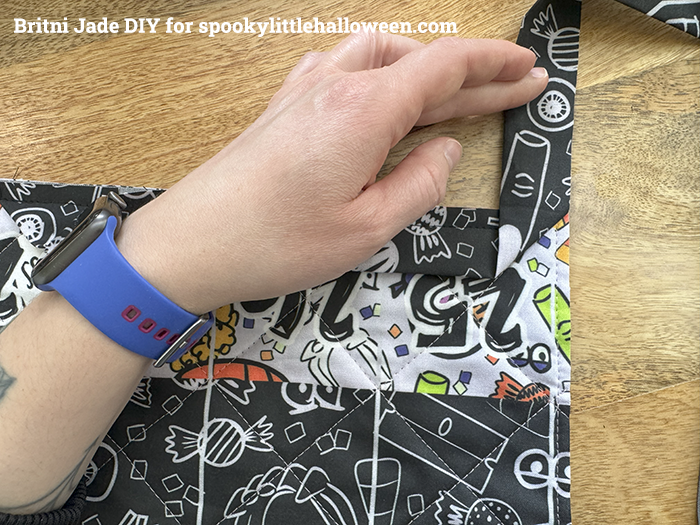
f) Lift the presser foot and trim your threads. Then fold the binding back toward the bottom at a forty-five degree angle, and fold the binding back on top of itself to create your corner or a ninety degree angle.

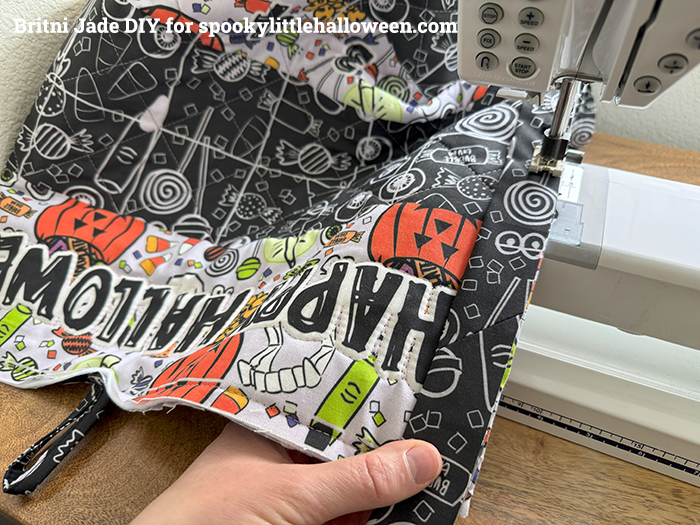
g) Continue stitching the binding from the top of the fold 3/8" from the edge.

h) Repeat the previous steps for all other corners.

i) Once you get to the end of attaching your binding, cut away the extra binding leaving enough to be stuck inside the beginning of the binding. Stick the end inside the fold of the beginning and stitch over the area folded in half, 3/8" from the calendar’s edge.

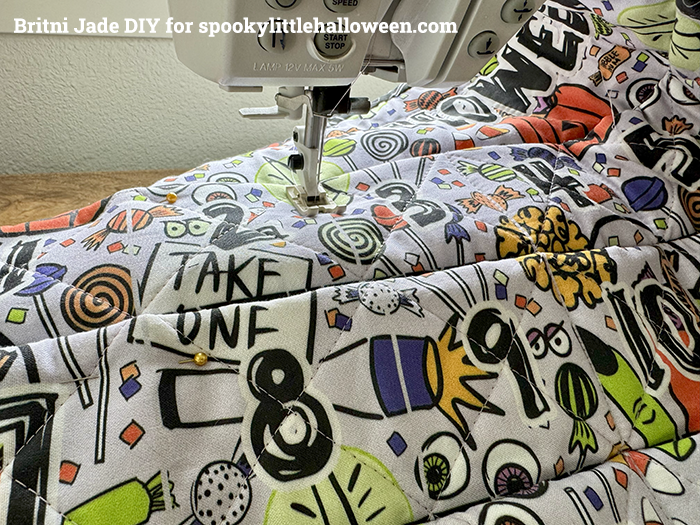
Halloween-themed advent calendar with numbered pockets, decorated with pumpkins, ghosts, and black cats, containing small treats and notes.
Sewing machine stitching Halloween-themed fabric with colorful designs and text, for a DIY project.

Step 7:

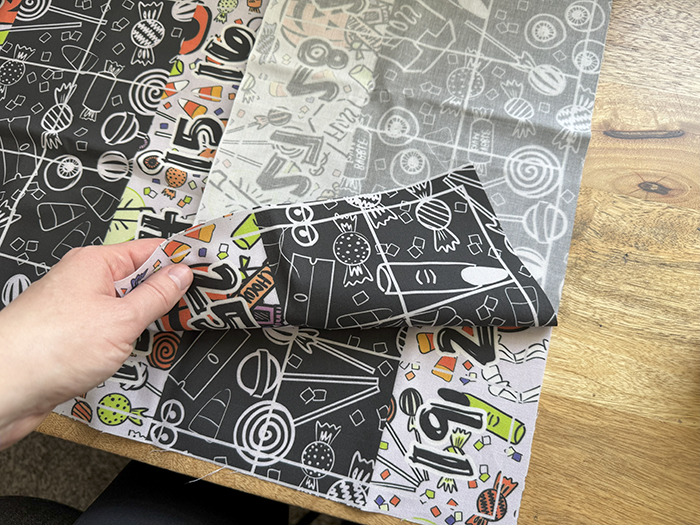
Fold your calendar like an accordion, creating the pockets in between each week, and match up the print so that only the full color print is visible.
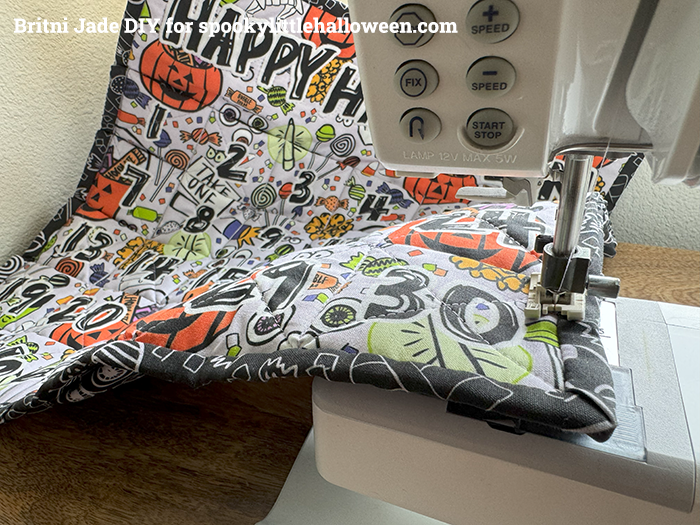
Close-up of a sewing machine stitching with Halloween-themed fabric featuring pumpkins, ghosts, and other festive designs.

Step 8:

Stitch on top of the vertical lines that separate each pocket including along the sides right along the edge of the binding, making sure to back stitch at the top of each pocket to reinforce your stitch line.
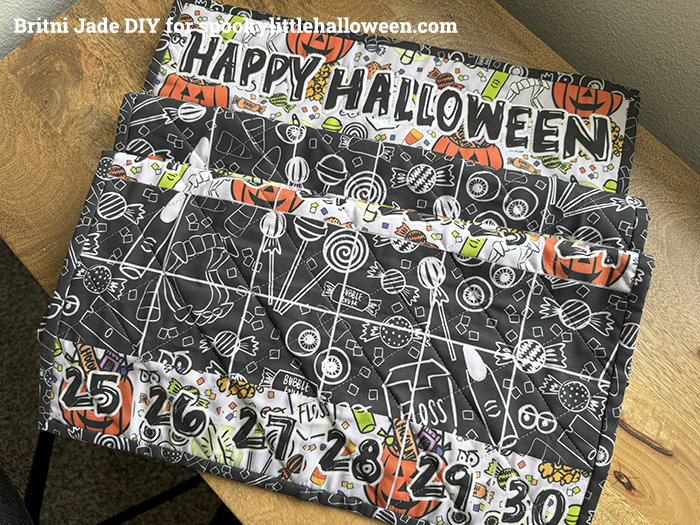
Halloween-themed targeted advertising for Britni Jade DIY project, featuring fabric with Halloween patterns, a calendar with dates from 25 to 30, and a Happy Halloween sign

STep 9:

Attach rod or ribbon to hang. Print Halloween advent calendar cards to stuff into calendar pockets or fill with candy or trinkets.


Looking for DIY projects to make your entire home spooky?

Visit youtube.com/@britnijadediy for upcycling ideas, furniture makeovers, and more.