

This content originally appeared in the 2025 spring issue of Spooky Little Halloween—The Magazine.
You know that moment at a party when someone brings out a dessert and the whole room goes quiet? That's these lemon bars.
The Wicked Cranberry Lemon Bars take a classic lemon bar — buttery shortbread crust, silky lemon filling — and twist it with a swirl of homemade cranberry purée that turns every single bar into a little work of art.
The color alone is enough to stop people mid-bite. The flavor is enough to make them ask for the recipe before they've even finished chewing.
This is post three of my five-part Springoween Picnic series. If you're just joining us, we've already covered the Witch's Garden Chicken Salad and the Cranberry Coven Cooler.
This is the grand finale of the recipes — and trust me, it's worth the wait.
Recipe: Wicked Cranberry Lemon Bars

Wicked Cranberry Lemon Bars
Who says cranberry is only for fall? Add it to your lemon bars this spring for a delicious and tart spin on a classic.
Ingredients
- 1½ cups fresh or frozen cranberries
- ¼ cup water
- 2 tablespoons sugar
- 1 cup (2 sticks) unsalted butter, melted
- ½ cup granulated sugar
- 2 cups all-purpose flour
- ¼ teaspoon salt
- 4 large eggs
- 1½ cups granulated sugar
- ¼ cup all-purpose flour
- ½ cup fresh lemon juice (about 2–3 lemons)
- Zest of 1 lemon
- 1 cup cranberry purée (from above)
Instructions
- Make the cranberry purée. In a saucepan, combine 1½ cups cranberries, ¼ cup water, and 2 tablespoons sugar. Simmer over medium heat until cranberries burst and soften, about 10 minutes. Blend until smooth and strain to remove skins if you want a silky-smooth purée. Let cool completely. (This step can be done a day ahead — store covered in the fridge.)
- Prep your pan. Preheat the oven to 350°F. Line a 9x13 pan with parchment paper, leaving a little overhang on the sides so you can lift the bars out cleanly later.
- Make the crust. In a bowl, mix melted butter, sugar, flour, and salt until a soft dough forms. Press evenly into the prepared pan — use a flat-bottomed measuring cup to really pack it in. Bake for 18–20 minutes or until the edges are lightly golden.
- Make the filling. While the crust bakes, whisk together eggs, sugar, flour, lemon juice, and lemon zest until smooth. Add the cranberry purée and gently swirl — you want ribbons of crimson running through the yellow filling, not a fully blended pink mixture. Swirl with intention. This is where your artistic witch energy comes in.
- Bake. Pour the filling over the hot crust (straight from the oven — this helps everything set up properly) and return to the oven. Bake 20–25 minutes until the center is just set and no longer jiggles.
- Chill and serve. Let cool completely at room temperature, then refrigerate for at least 2 hours. Lift out using the parchment overhang and slice into bars. Dust with powdered sugar if you dare.
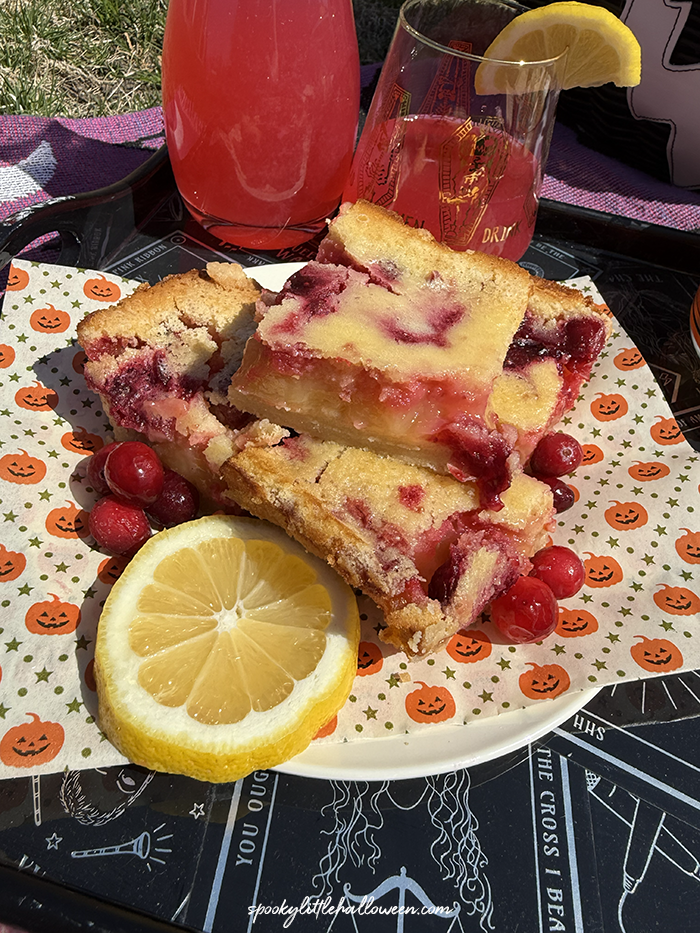
A few notes before baking:
On the cranberry purée: Don't skip the purée step or try to substitute cranberry sauce from a can. You need the freshly cooked and blended purée for the right consistency and color — it swirls into the lemon filling like a dream. The good news is it only takes about 10 minutes to make, and you can do it a day ahead.
On the crust: Press it in firmly and evenly. A flat-bottomed measuring cup is your best friend here. The crust should be packed tight enough that it holds together when you slice the bars later.
On patience: I know. I know. But you have to let these cool completely and chill for at least 2 hours before slicing. Cutting them too early gives you beautiful-tasting soup instead of beautiful-tasting bars. The wait is worth it.
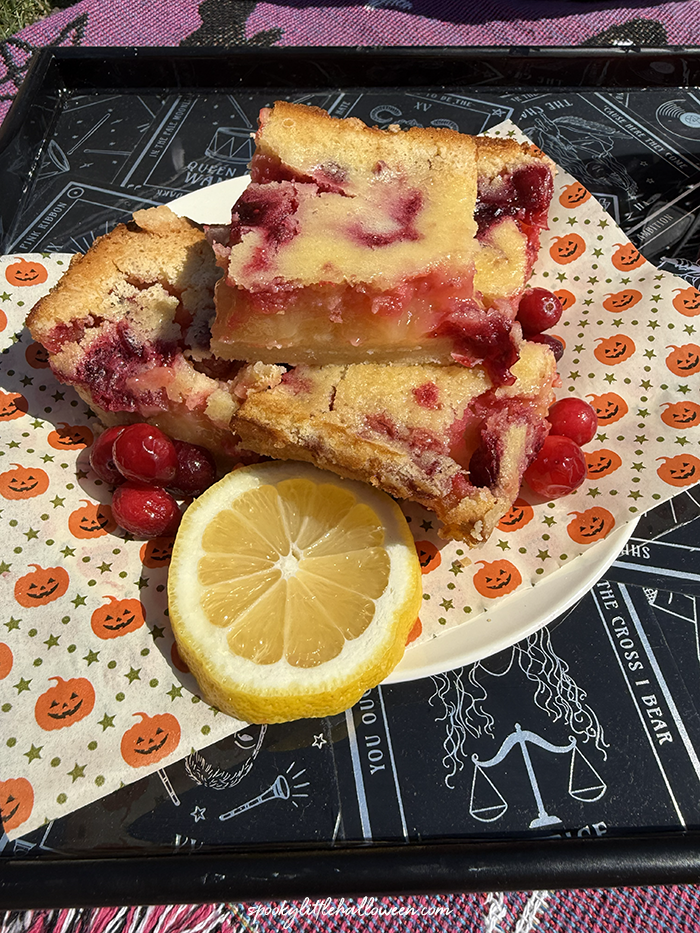
Picnic Packing Tips
These bars travel surprisingly well if you keep them cold. Slice them in the pan first, then lift the whole sheet of parchment out and transfer to a flat lidded container. Layer with parchment between any stacked rows. A small cooler or insulated bag with an ice pack will keep them perfect until it's time to serve.
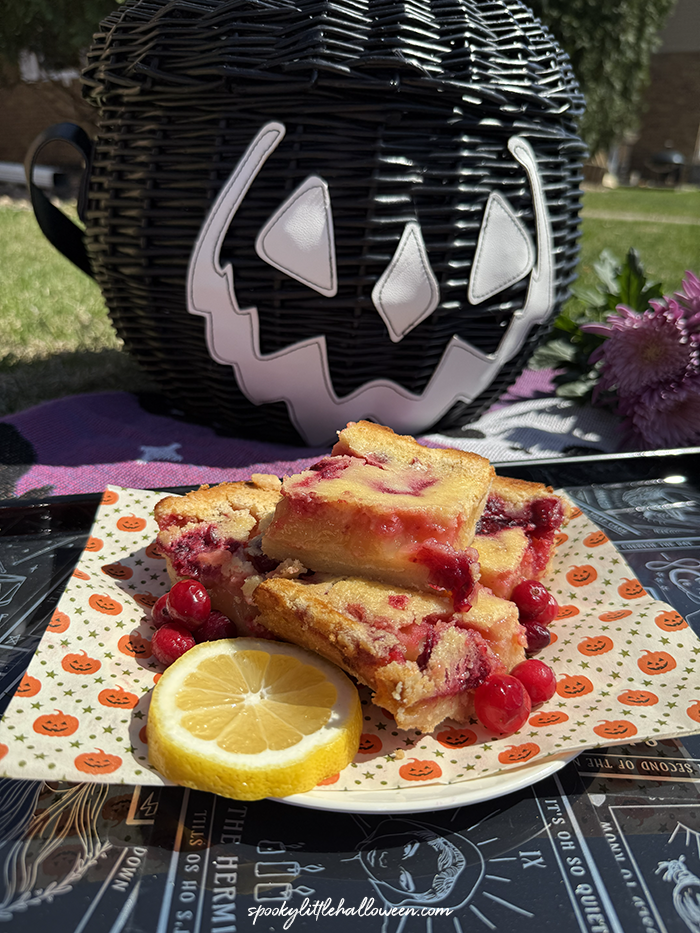

More Springoween Picnic Recipes
This is post three of my five-part Springoween Picnic series.
The next post pulls it all together: Tips for a Killer Springoween Picnic — from choosing your haunted location to dressing the part.