

Welcome to Halloween 101 — a new series on Spooky Little Halloween where we cover all the essential building blocks of celebrating Halloween, from decorating to costumes to candy math and everything in between. New posts go up every other Monday through the end of October, so check back often!
Halloween decorating doesn't have to mean a U-Haul trip to the Halloween superstore (though, no judgment if that's your thing).
Some of the best outdoor Halloween displays I've seen are simple, intentional, and built zone by zone — porch, walkway, yard, windows — rather than just scattered everywhere at once.
If you're new to outdoor decorating, or you've done it for years but want a refresh, this is your starting point. We'll go zone by zone so you can tackle this in chunks instead of all at once.
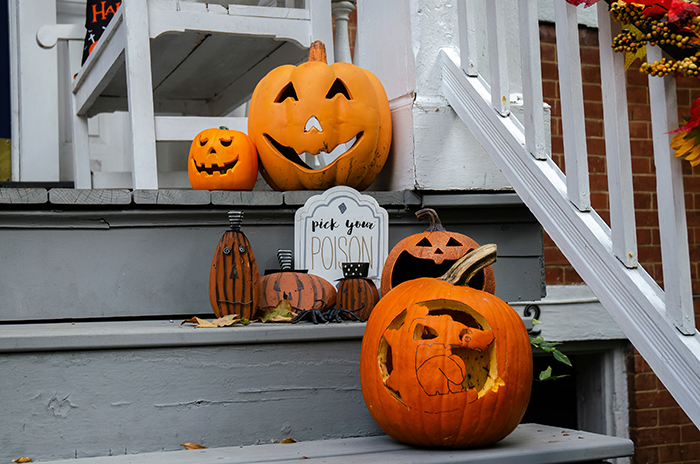
Start with your porch
Your porch is the first thing trick-or-treaters and neighbors actually see up close, so it's worth the most attention.
A few easy wins:
Anchor with pumpkins. A cluster of pumpkins (real, faux, or a mix) at different heights near your door instantly says "Halloween" without any extra effort.
Layer in texture. Hay bales, cornstalks, or a thrifted old chair can add dimension without costing much.
Light it intentionally. Warm string lights or a few flickering lanterns make your porch feel inviting rather than just decorated. Save the spooky lighting (more on that below) for elsewhere in the yard.
Don't forget the door itself. A wreath, a banner, or even just a doormat swap can tie the whole porch together.
Light the walkway
The path from sidewalk to door is where a lot of homeowners stop decorating — and where a little effort goes a long way.
Use ground-level lighting. Solar path lights, mini string lights along the edges, or even battery-operated luminaries can guide guests in without you needing to run extension cords everywhere.
Add small surprises. A few "lurking" figures tucked into bushes along the path (spiders, skeletons, a well-placed gravestone) create a sense of discovery as people walk up.
Keep it safe first. Before anything else, make sure the path is actually walkable — no tripping hazards, no decorations blocking the route. (This matters even more once you're hosting actual trick-or-treaters; we'll cover that in a future post.)
Build out the yard
This is where you have the most room to play, whether that means a few well-placed pieces or a full-on scene.
Pick a focal point. One large piece — a big inflatable, a DIY graveyard scene, a fog machine — gives the eye somewhere to land instead of competing with a dozen smaller items.
Layer in smaller details. Once you have your focal point, fill in around it with smaller touches: fake cobwebs in shrubs, a few stray bones, a strategically placed crow.
Think about sightlines. Decorate with the view from the street in mind — that's the angle most people, including trick-or-treaters walking by, will actually see.
Lean into negative space. You don't need to fill every inch of lawn. A little restraint often reads as more intentional (and spookier) than a yard packed wall-to-wall.
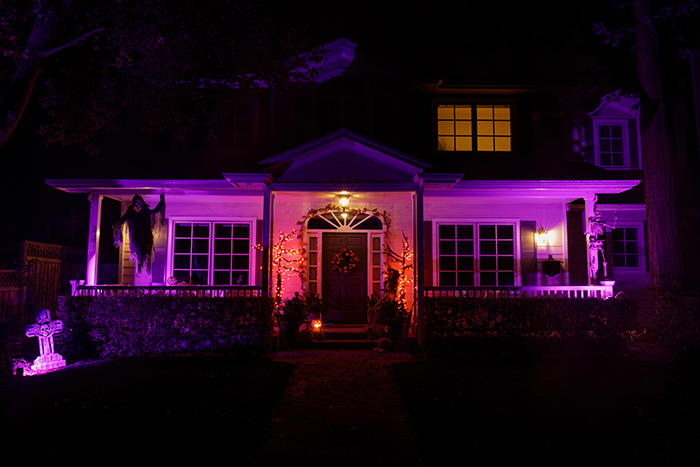
Don't skip the windows
Windows are easy to forget, but they're visible day and night and frame your whole house.
Silhouettes work wonders. Black paper cutouts (witches, bats, cats) taped to the inside of a window read as spooky and are nearly free to make.
Uplighting from inside. A single colored bulb or LED behind a window creates an eerie glow without any outdoor installation at all.
Match your indoor and outdoor vibe. If your porch is moody and atmospheric, let a little of that glow spill out through the windows too — it ties the whole house together as one display instead of separate decorated zones.
A few principles that apply everywhere
No matter which zone you're working on, a few things will make any setup look more polished:
Lighting matters more than props. A simple display with great lighting will almost always beat an elaborate one with bad lighting.
Less really can be more. Three well-placed, high-quality elements often read better than ten cluttered ones.
Weatherproof what you can. Halloween décor lives outside for weeks, often through wind and rain — choose materials (or storage plans) accordingly.
Decorate for the view, not just up close. Step back across the street periodically while you work; that's the vantage point most people will actually experience your display from.

Start small, build over time
You don't have to nail every zone the first year. Pick one — porch is usually the easiest starting point — get that right, then expand outward in future seasons. Halloween decorating, like most good traditions, tends to grow a little each year anyway.
Looking for outdoor decorating inspo? Check out these blog posts:
15 Halloween decorating ideas (includes outdoor ideas)
Halloween 2022 home tour: My front porch (indoor apartment space)