

This content was originally published on Patreon and in the 2025 winter fun size issue. All October posts are part of the Countdown to Halloween!
A few years ago, an Instagram post from Kailo Chic flew by on my personal feed, and I thought, That would be sooo cute Halloweenified!
Today, we're making that happen with these DIY Halloween confetti candles — a quick and easy project you could still pull off before the end of October.
I love these because they're such a fun way to customize your decor for your home OR a party, the color options are endless, and it isn't overly-involved so kiddos could give it a try too!
Here's how you do it.
How to make Halloween confetti candles
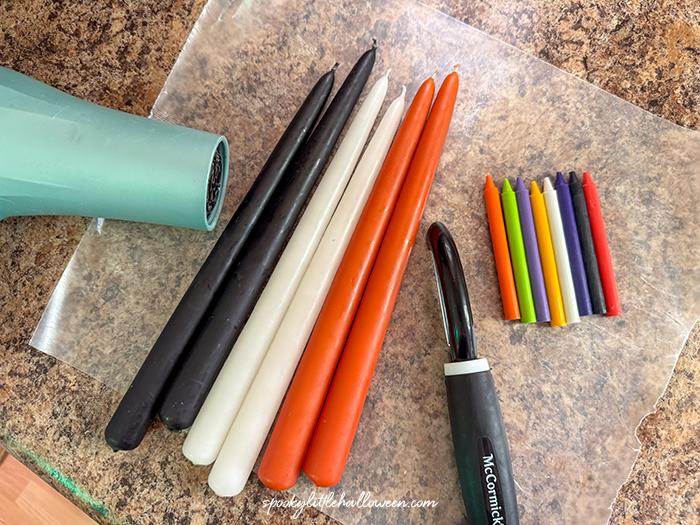
Supplies:
Taper candles
Crayons
Vegetable peeler
Wax paper
Tall cup full of hot tap water (alt: heat gun)
Exacto knife
Note: I bought a new vegetable peeler for this project from Dollar Tree. That's also where I picked up the crayons. Honestly, you could probably pick up nearly everything you need for this at a dollar store to keep the cost low!
Instructions:
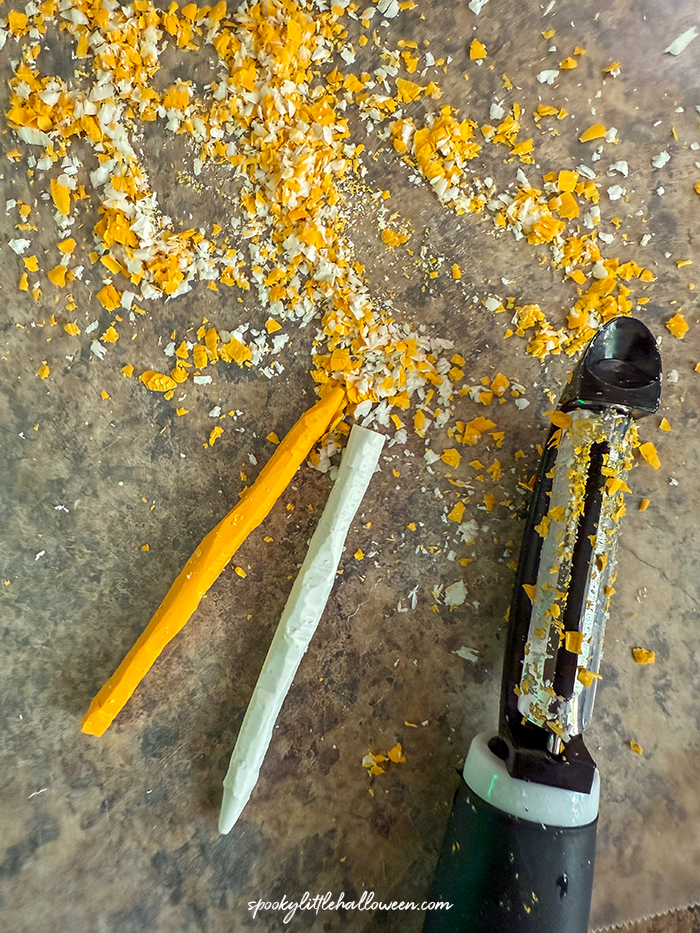
To get started, pick out the crayon colors you want to pair with your taper candles. Using an Exacto knife, gently slice through the paper wrapper and remove it.
Next, fill a tall glass with the hottest tap water you can get from your faucet. Fill the cup almost to the top, then dunk your taper candles in. Let these sit to soften up with we prep the "confetti." If the candles are taller than the cup, flip them over after to 2-3 minutes.
You could also use a heat gun to warm the surface of the taper candles, if you have one. You're looking to slightly soften, not melt, the exterior of the taper candle so the confetti will stick. While I tried a hair dryer the first time, it wasn't nearly as effective as hot water. A heat gun seems like a better bet, but I don't have one in my craft arsenal already.
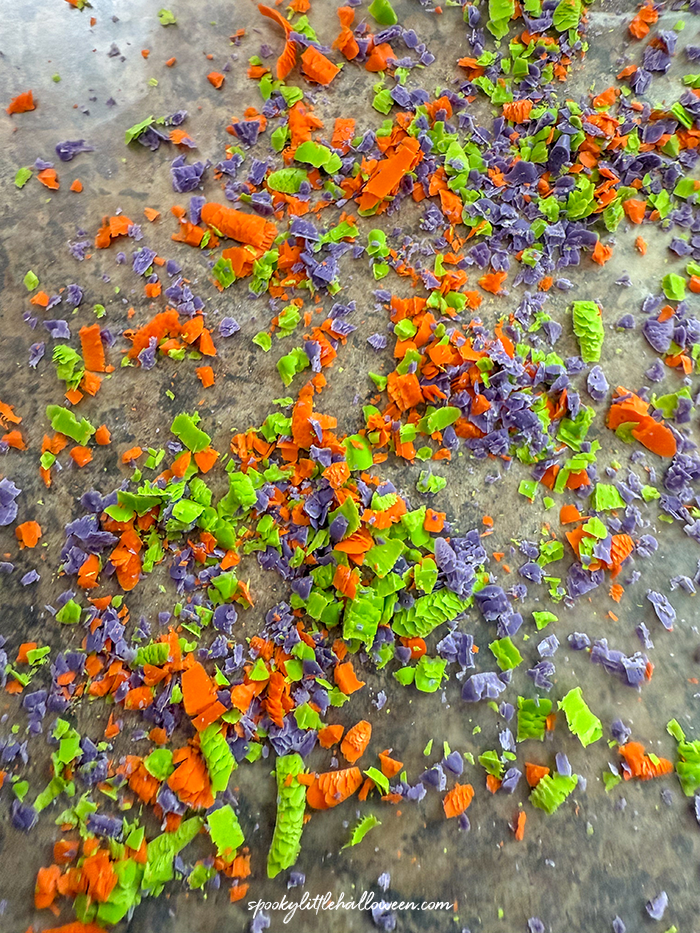
Spread out a sheet of wax paper on a flat surface. Using the vegetable peeler, slice off small shavings from each crayon color you want to use. Short, gentle motions work best for this. Go slow! We don't want peeled fingertips OR broken crayons.
Once you have 2-3 tablespoons worth of crayon shavings, spread them out across the wax paper.

Remove your tapers from the hot water and dry them. Then, one at a time, roll them through the crayon shaving until you're satisfied with the coating. (I didn't take any photos of this part because I only have two hands, but see the video for more.)
Allow the tapers to sit for 10-15 minutes after adding the confetti, then decorate your home with them!
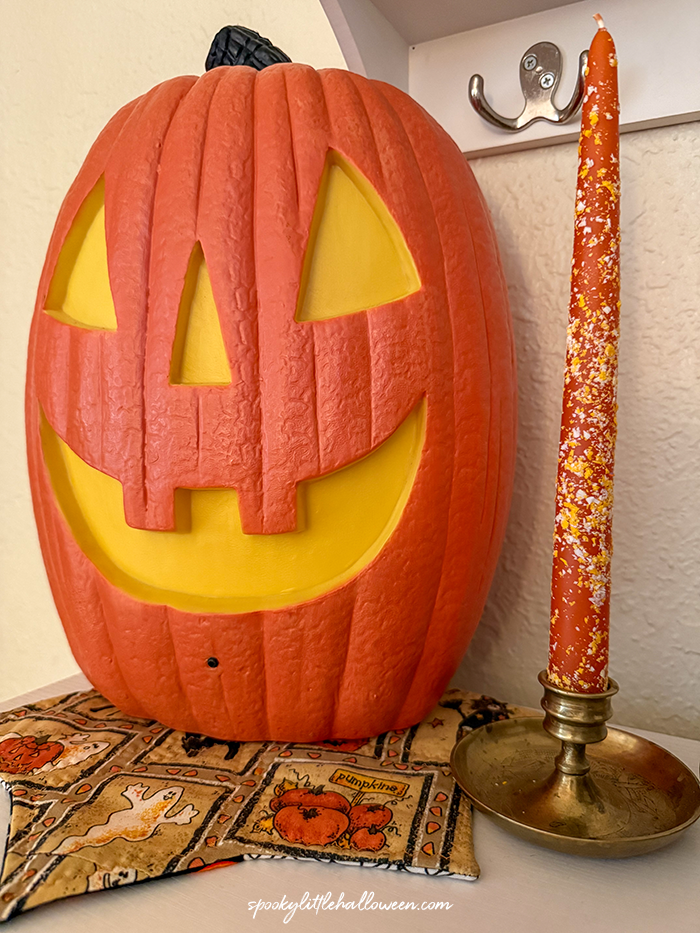
Like this...
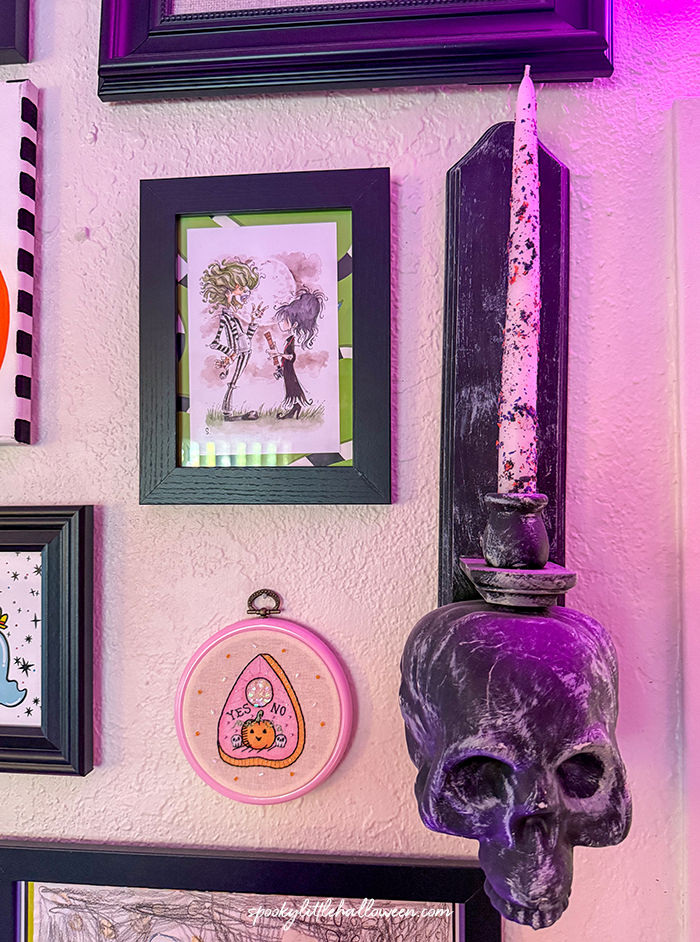
...or this...

...or this! The black one is my favorite.
I made all three sets of these in about 15 minutes once I got going. With a little guidance, I think kiddos as young as five could enjoy making these too. (Let them pick colors and do the rolling while you handle the confetti creation and heating process.)

Looking for more easy DIYs?
That’s my specialty around here, so here are three more you might like for spooky season: